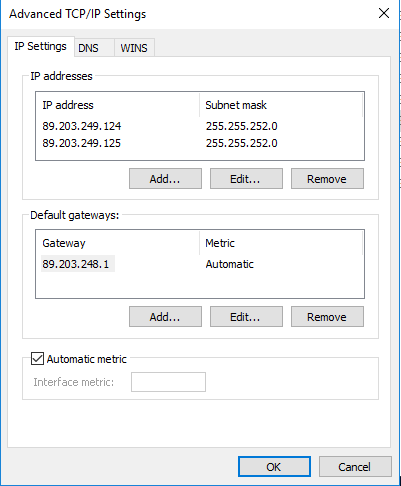
Windows - Adding a Second IP Address
What will we need?
- After ordering a second IP address, you must request that it be assigned via a support ticket.
Procedure
After ordering a second IP address, you must submit a ticket to request that it be assigned. We will then assign the IP address and subnet to you.
- We'll log in to our VPS via RDP.
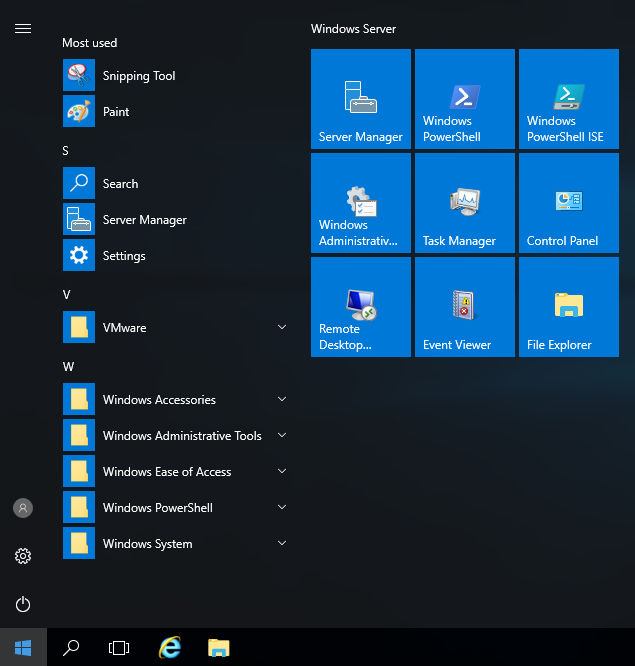
- Left-click the Windows icon.
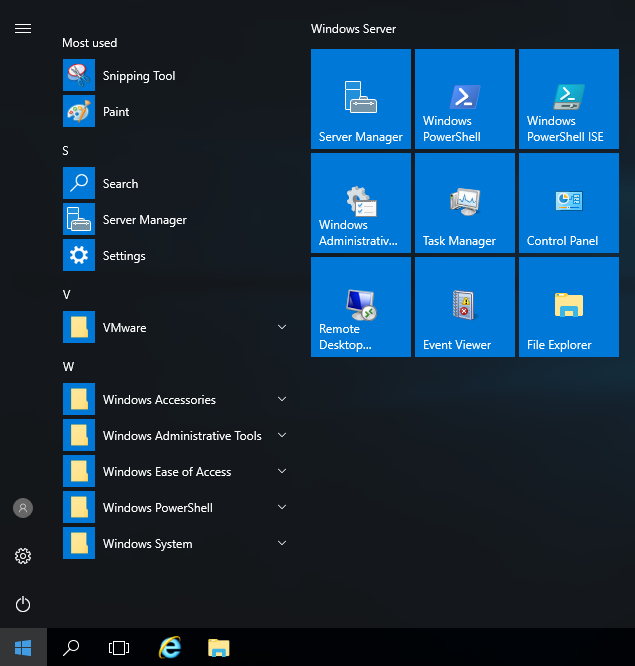
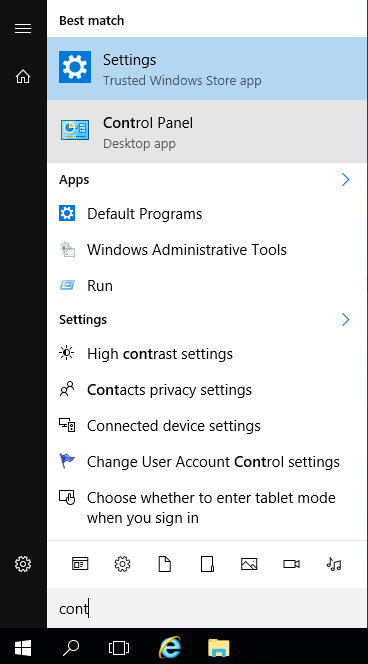
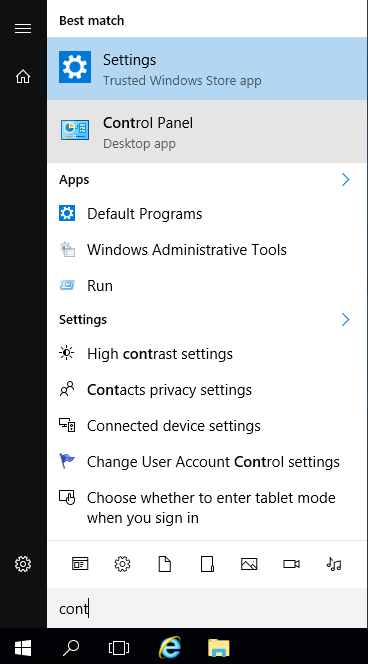
- Start typing “cont,” and “Control Panel” will appear. Open it.
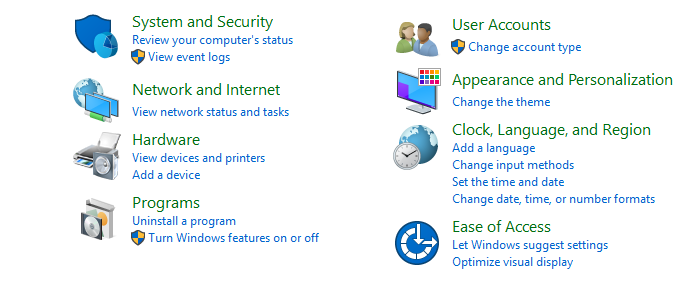
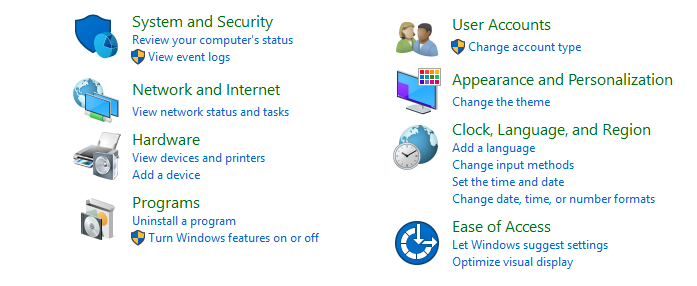
- Next, in the “Network and Internet” section, click “View network status and tasks.”
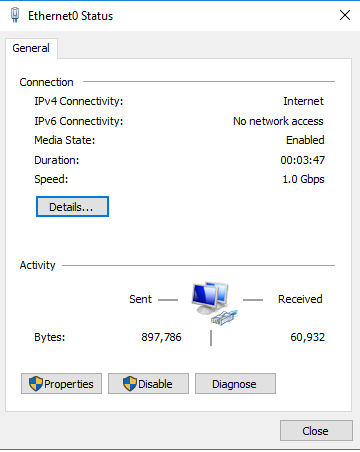
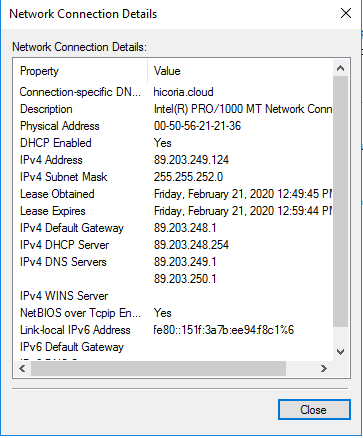
- Click “Ethernet0.” Then click “details.”

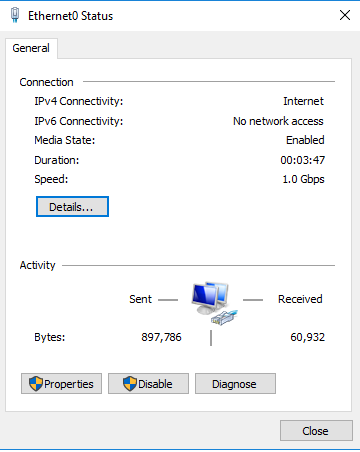
- On this tab, we'll note down the currently assigned IPv4 address, IPv4 subnet mask, and IPv4 default gateway.
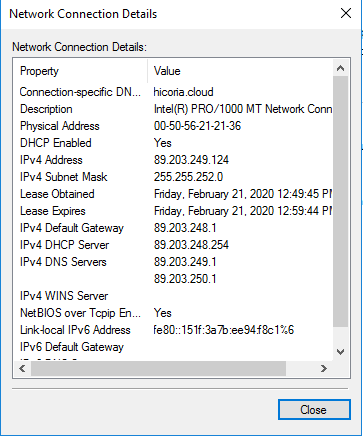
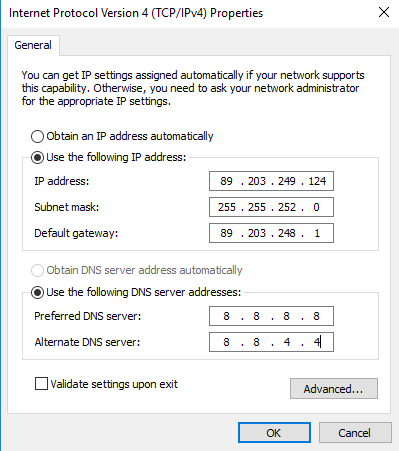
- Next, go back and click “Properties,” then double-click “TCP/IPv4 (Internet Protocol Version 4).”
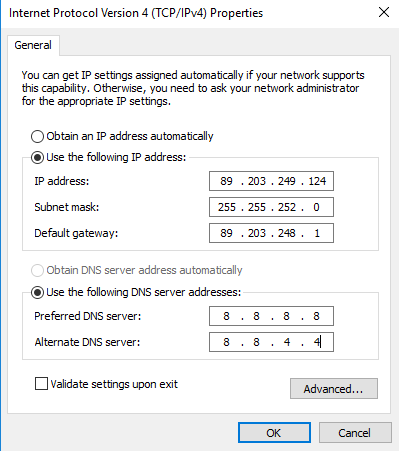
- In the table below, click “Use the following IP address:” and enter the information you wrote down at the beginning of this guide. For the DNS, enter the DNS servers shown in the image, for example, and then click “Advanced.”
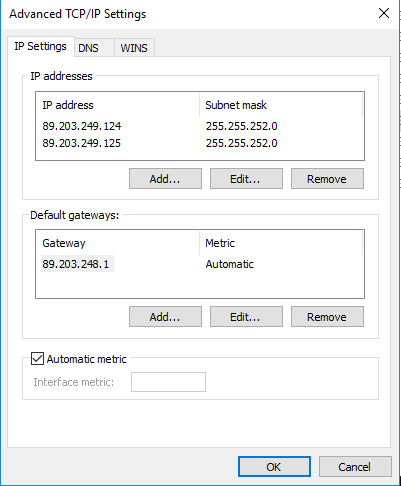
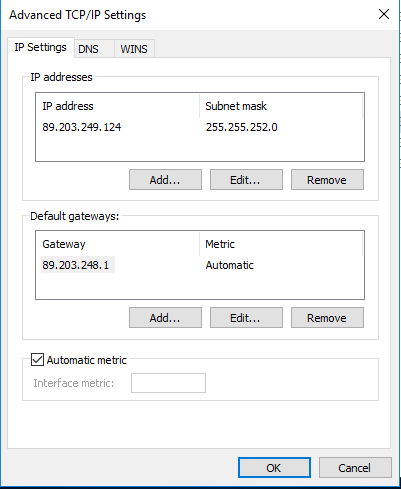
- In the “IP addresses” tab, click “Add,” enter the newly assigned IP address and subnet mask from the ticket, and then click “Add.”
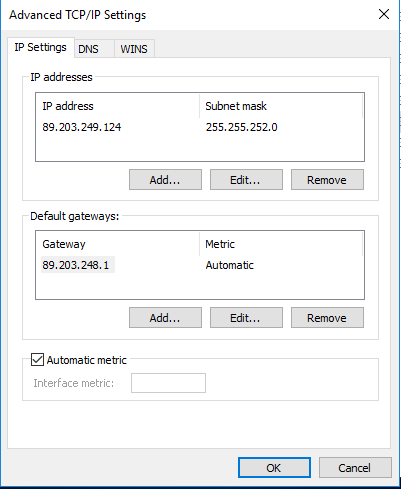
- Check that the newly added IP address appears, click “OK,” then click “OK” twice more.